Preparing and Joining your Nodes to the Controller
Preparing your Nodes
Once you’ve set up your Controller & Registry, you’ll want to install Anka Build Virtualization software onto a macOS machine and join it to your Build Cloud.
This guide has a few options that are typically not available on MDM controlled machines. You may need to ask your system administrators/local IT team to allow them.
Be sure to reboot the host after applying these changes.
Host Preparation (Optional, but Recommended)
Enable
Automatic Loginfor the current user: Go to Preferences > Users > Enable Automatic Login for the current user. Or, using the CLI.Not available if FileVault is enabled or you use an iCloud password to log into the user.
If using the CLI method of enabling
Automatic Login, you must also XOR-encrypt the login password and add it to/etc/kcpassword.The
/etc/kcpasswordfile must be owned byroot:wheelwith a mode of0600.See the GitHub repository veertuinc/kcpassword for help generating the encrypted password string.
If on macOS version Big Sur: Disable Apple’s mitigations with
sudo anka config vmx_mitigations 0. Without it, performance will be ~10% worse inside of the VM. (This does not work on Monterey versions of macOS)Disable spotlight on the host and also inside of the VM:
If you cannot perform launchctl commands, you can execute these commands from the command-line:
sudo defaults write ~/.Spotlight-V100/VolumeConfiguration.plist Exclusions -array "/Volumes"
sudo defaults write ~/.Spotlight-V100/VolumeConfiguration.plist Exclusions -array "/Network"
sudo killall mds || true
sleep 60
sudo mdutil -a -i off /
sudo mdutil -a -i off
sudo launchctl unload -w /System/Library/LaunchDaemons/com.apple.metadata.mds.plist
sudo rm -rf /.Spotlight-V100/*
MDS can be disable entirely with
sudo launchctl unload -w /System/Library/LaunchDaemons/com.apple.metadata.mds.plist, but only if SIP is disabled on the host (not recommended).
You may also want to have your nodes restart on host level failure:systemsetup -setrestartpowerfailure on&systemsetup -setrestartfreeze on
Joining Prerequisites
Add the Registry
This is not needed on all Nodes connecting to the Controller. Most users have a “builder machine” that has the registry connection and is used to create and push VM Templates/Tags.
We now need to configure the Registry on this machine so we can push/upload the local VM Template so other machines connected to the Anka Build Cloud. Uploading the Template to the Registry makes it possible to download and run it from other nodes.
Assuming you haven’t changed the default port configuration, your Registry is serving requests on port 8089.
sudo anka registry add <registry name here> http://<ip>:8089
Verify the configuration:
sudo anka registry list-repos
++
++

<registry name you set> (default)

+--------+------------------+
| host   | <the ip you set> |
+--------+------------------+
| scheme | http             |
+--------+------------------+
| port   | 8089             |
+--------+------------------+
Then, confirm the registry list command doesn’t throw any failures:
sudo anka registry list
Push the VM to the Registry
sudo anka registry push 12.X -t base
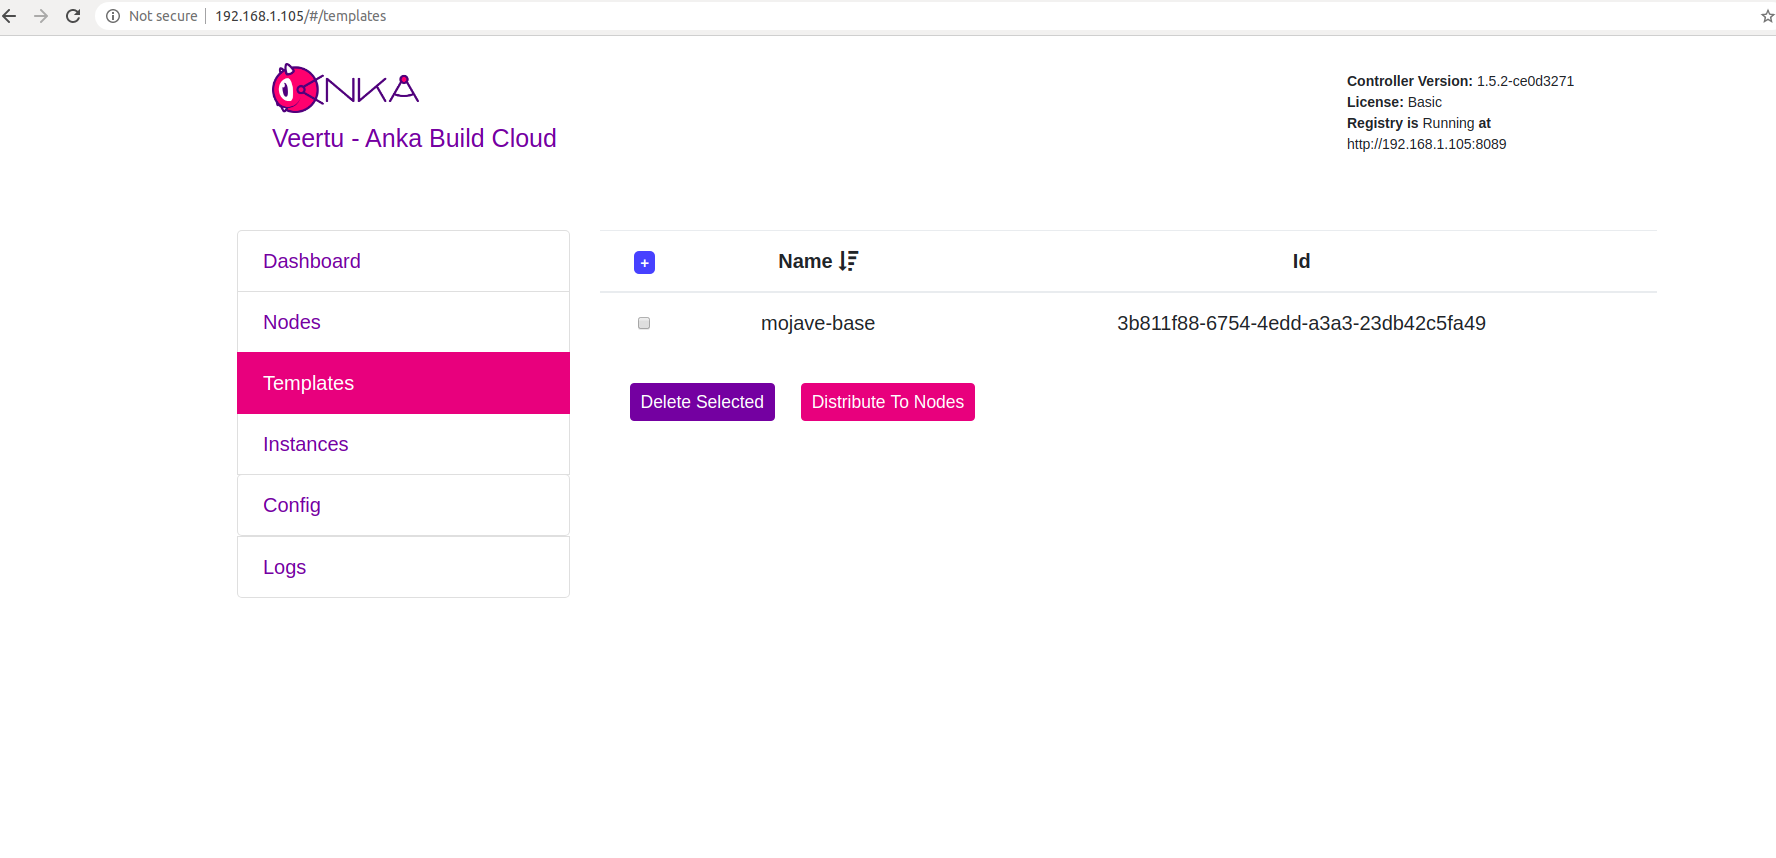
After the push completes, you should see your new Template in the “Templates” section of the controller UI.
Join to the Controller & Registry
Be sure to run ankacluster as root.
Avoid using underscores in your domainnames/urls.
❯ sudo ankacluster join http://<ip>
Password:
Testing connection to controller...: Ok
Testing connection to the registry...: Ok
Ok
Cluster join success
- Replace
<ip>with the IP of the machine hosting your controller: - If you changed the default port for the controller from 80, you’ll need to use the new port at the end of the IP. Otherwise, leave it off.
The command may hang for a few moments and then display Cluster join success. Please report any errors you find to support@veertu.com.
The Anka agent is listening on a socket to provide status information at runtime.
You can override the path of the socket by setting the ANKA_AGENT_SOCKET env var.Check Join Status
You can check the status of the Anka agent using the ankacluster status command.
❯ ankacluster status
status: running
config:
  vm_limit: 2
  optimization_threshold: 5
  num_workers: 2
  controller_addresses:
  - http://anka.controller.dev
  version: 1.13.0-6cd34a2c
  capacity_mode: number
  heartbeat: 5s
  node_name: MyMacMiniNode
  vm_stuck_check_delay: 30s
  vm_stuck_check_timeout: 10s
Start a VM instance using the Controller UI
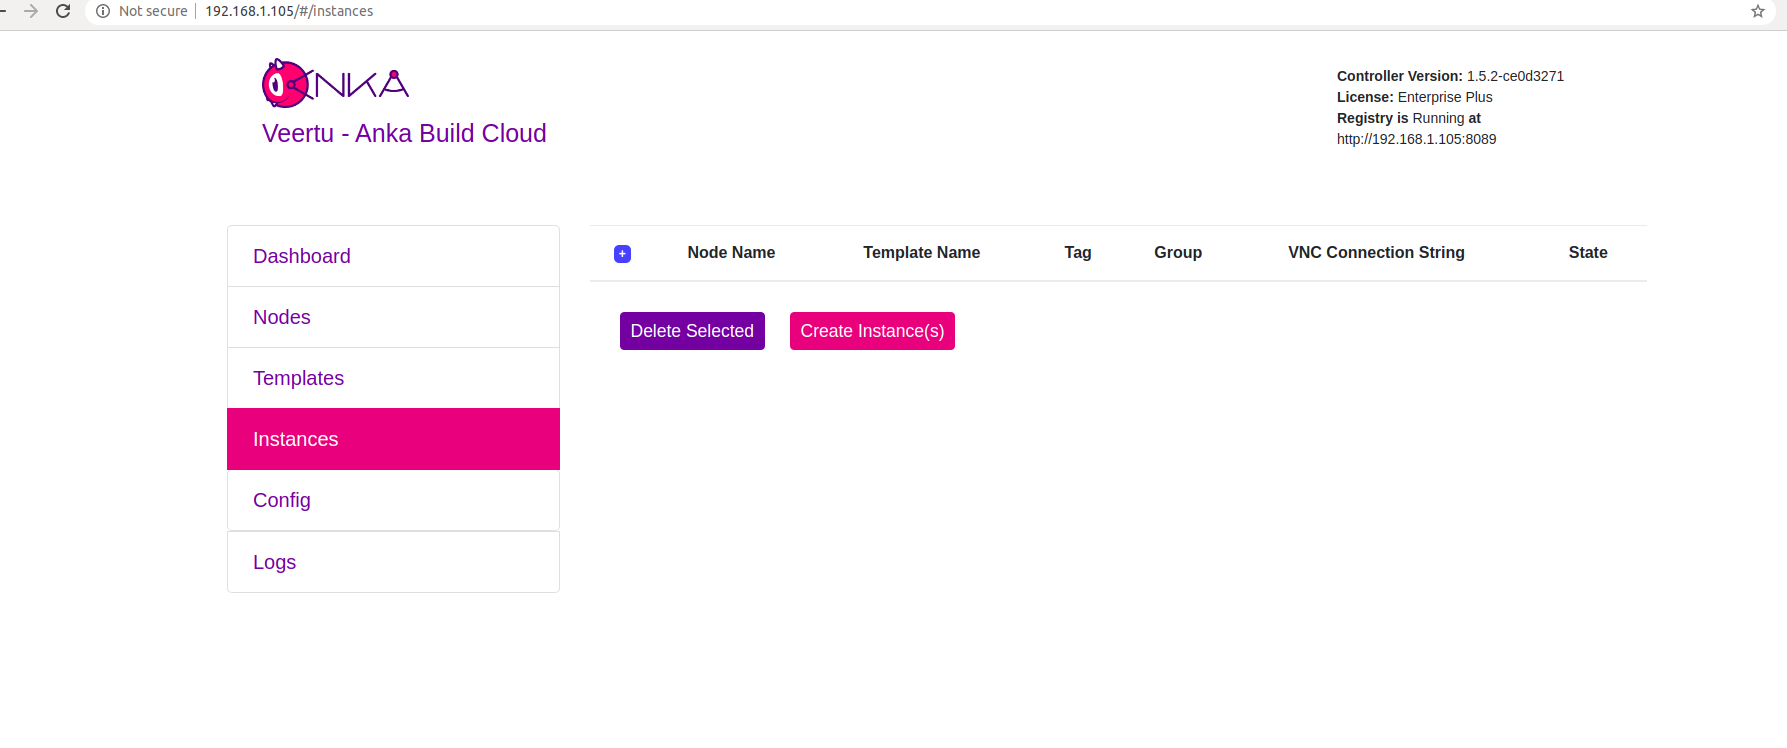
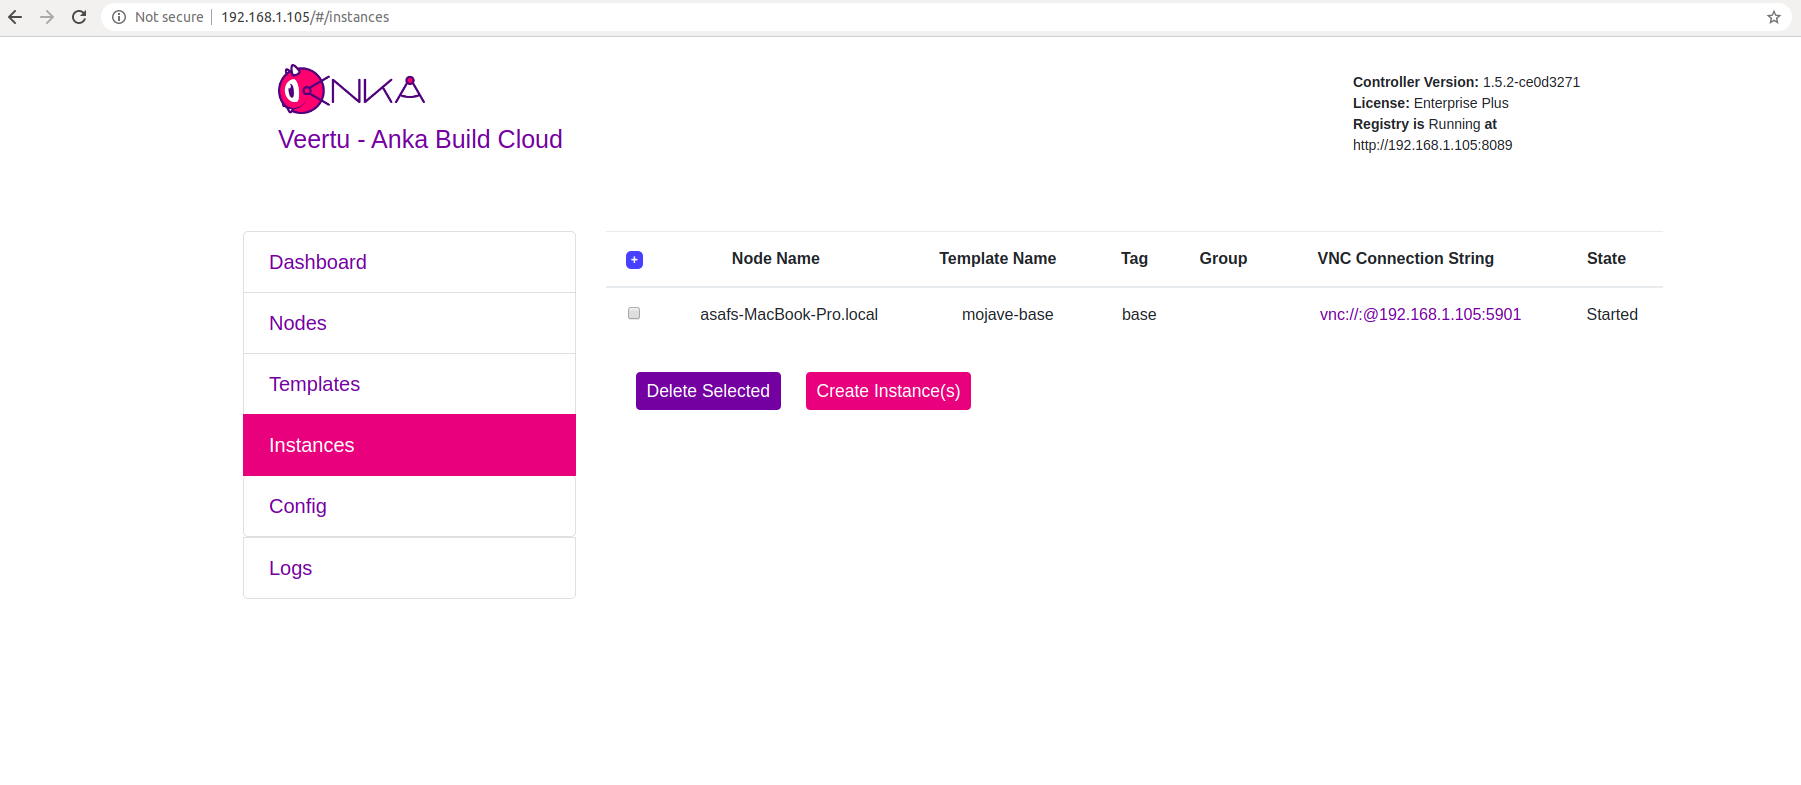
Go to your Controller dashboard and click on the Instances tab:
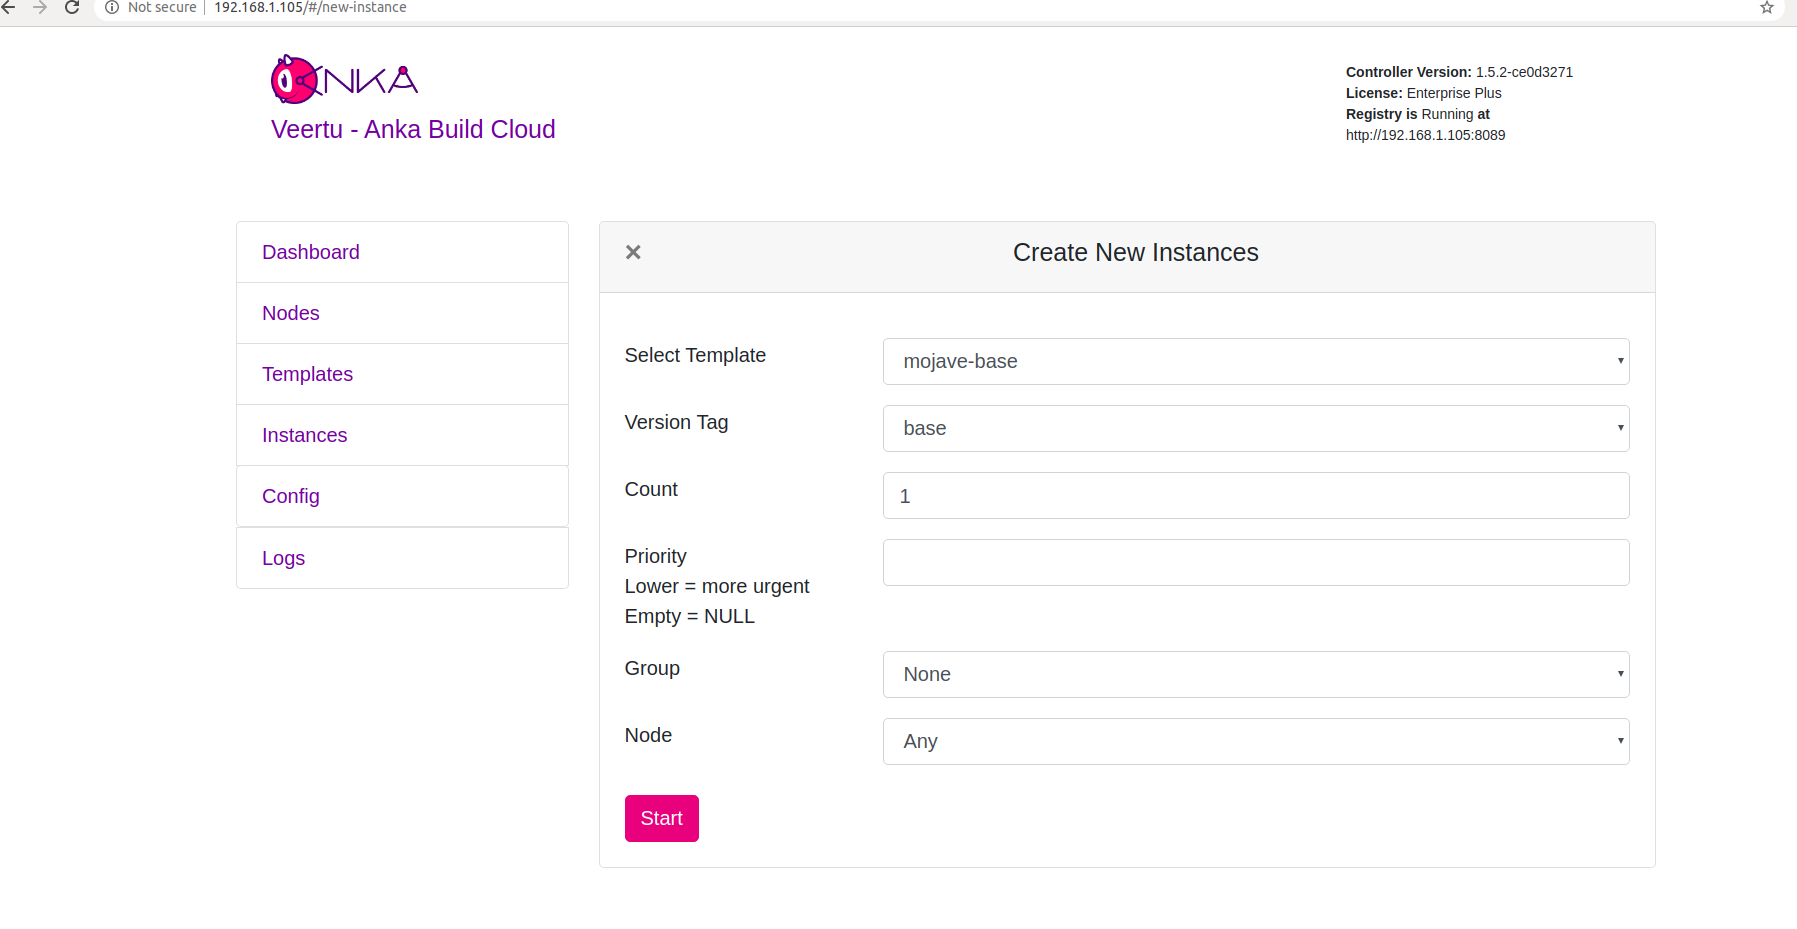
Click on Create Instance(s), and the Create New Instances view displays:
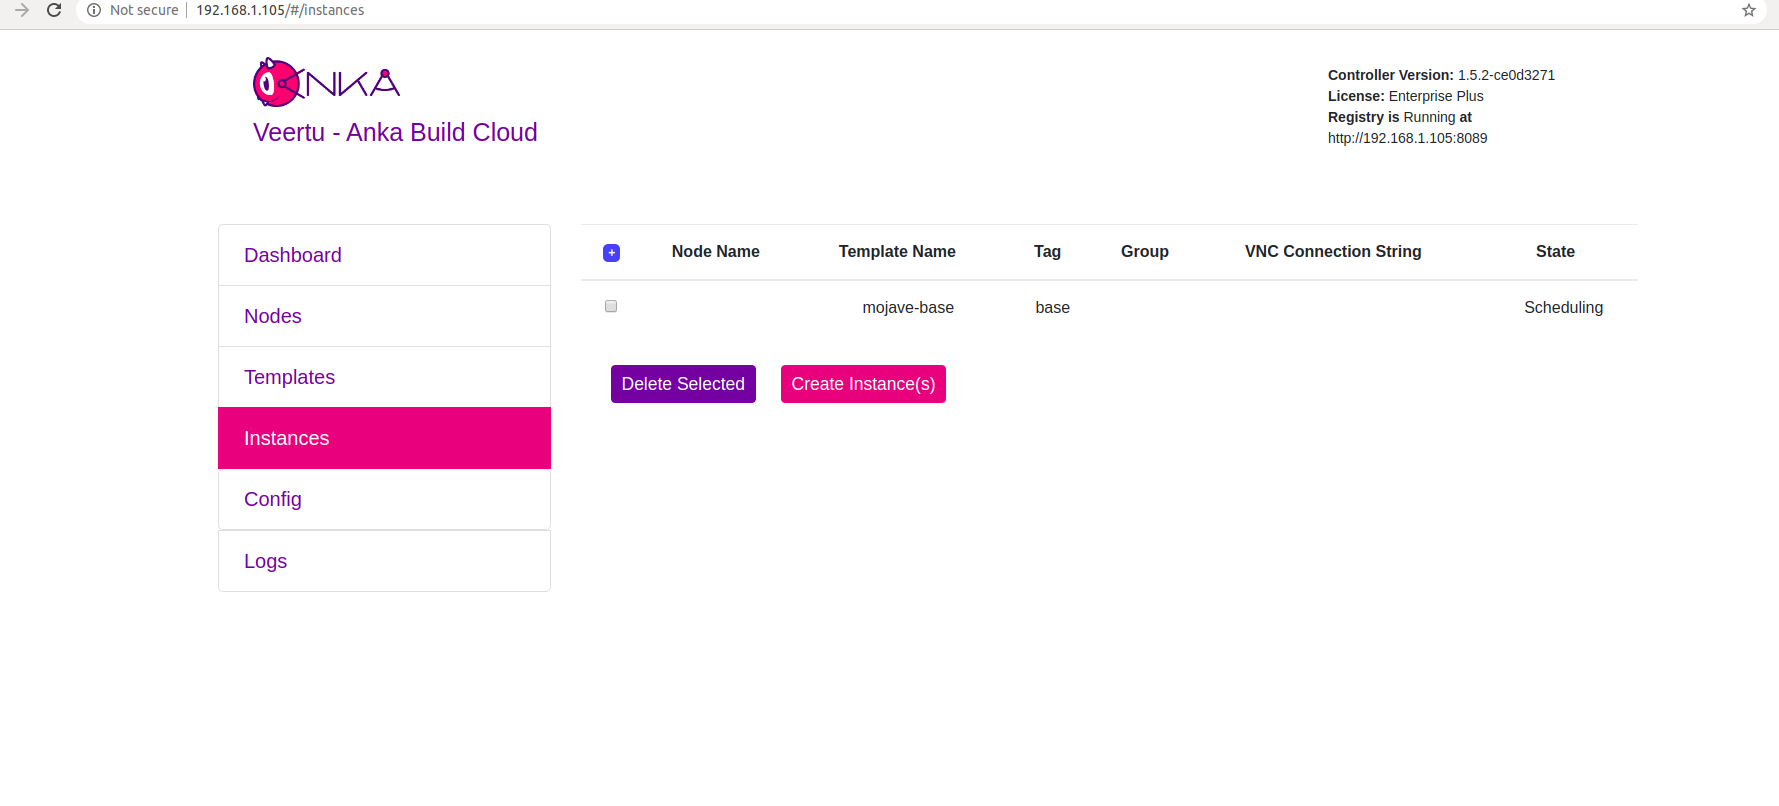
Select the VM Template and click Start. The Create New Instances view closes and returns you to the Instances view. You should now see the Instance in a Scheduling or Pulling State:
After the Scheduling and Pulling finishes, the VM starts on one of the Nodes and shows a Started State in the Controller UI:
You can now confirm the Instance is running from inside the Node:
- JSON output is available for scripting/automation using
anka --machine-readable
sudo anka --machine-readable list | jq
{
  "status": "OK",
  "body": [
    {
      "status": "suspended",
      "name": "catalina",
      "stop_date": "2020-04-01T21:30:59.798697Z",
      "creation_date": "2020-04-01T00:00:13.656296Z",
      "version": "base",
      "uuid": "10c720eb-dcce-46f7-baa3-28bacef0ec0f"
    },
    {
      "status": "running",
      "name": "mgmtManaged-catalina-1585776660490226000",
      "stop_date": "2020-04-01T21:36:11.742662Z",
      "creation_date": "2020-04-01T21:31:01.055250Z",
      "version": "",
      "uuid": "dcbeb319-421a-4d30-8466-194eb7fa5f75"
    }
  ],
  "message": ""
}
Timestamp format: https://www.ietf.org/rfc/rfc3339.txt
Disjoining
You don’t need to disjoin nodes to upgrade the Anka Virtualization package.
❯ sudo ankacluster disjoin
Disjoined from the Anka Cloud Cluster
Answers to Frequently Asked Questions
- Errors like the following are typically the cause of an older version of the agent on your node. You’ll want to visit http://downloads.veertu.com, download the agent version matching your controller’s version, and then try your ankacluster join command again:
> sudo ankacluster join http://anka.controller --reserve-space 20GB Testing connection to controller...: Ok Testing connection to the registry...: Ok Ok exit status 2 Log file created at: 2021/07/16 12:36:10 Running on machine: hostname1 Binary: Built with gc go1.14.3 for darwin/amd64 Log line format: [IWEF]mmdd hh:mm:ss.uuuuuu threadid file:line] msg I0716 12:36:10.164826 8172 log_cleaner.go:34] clean /var/log/veertu/anka_agent*... I0716 12:36:10.166385 8172 log_cleaner.go:56] don't touch: /var/log/veertu/anka_agent.hostname1.root.log.INFO.20210716-123610.8172 I0716 12:36:10.172275 8172 main.go:173] starting ankaAgent I0716 12:36:10.172282 8172 main.go:174] Anka Agent version: 1.7.1-9545c9f5 I0716 12:36:10.965625 8172 runner.go:43] Anka version is 2.4.1 I0716 12:36:10.965806 8172 runner.go:46] Agent Version is v2 Joining cluster failed - The Controller will be checking disk space on every pull/preparation of a VM. If not enough disk space is available, it will automatically delete VM Templates/tags from the Node based on which has the oldest last used timestamp until there is enough space for the VM Template/Tag. This cannot be disabled at the moment. This can be modified to some extent by using –reserve-space flag (see explanation above)
- The registry
External URL(seen in the controller UI/config) is used by the Nodes to pull down templates and tags. Be sure to set this URL properly in your Build Cloud Configuration and ensure firewalls allow communication.